Yule has come and gone. It's still the New Year, but most of the celebrating is behind us all. For the first time in many years, I did not get everything I wanted to accomplish before Christmas done. Tree up, yes; decorating, for the most part, yes; but cards, not nearly! So I am in the Art Barn, today, fabricating cards to send even belated wishes to friends and family. This is one year that the notion of “Better Late Than Never” is holding true! However the cards created this year may just be stored for next year. . .
My original intention was to create about 20 cards for sending out this year, but it looks like it is going to be more like 15. I have a number of sheets of deco foil that I wanted to use but the transfer sheets seem to have gone by the wayside. Black 8.5 x 11” toner sheets that are sold in a 2-pack are available from several outlets. Because of their size, they are very versitile and one version of them comes as "Peel-and-Stick" so that shapes can be cut from them and adhesive is already on the back for precise adhereing to the card or other object.

However, these days the Gina K Designs Deco Foil decorative transfer sheets are mostly unavailable except for those that allow the creation of sentiments and none of them were available with Christmas / Yule / New Year greetings. Time to re-evaluate once again.

The transfer and toner sheets both do well if you are going to cut out a design accent for the card, but I was wanting to “use what I have” in the way of cut-outs and I didn’t have many “Merry Christmas” sentiment dies either. Shapes were one thing, words another.
I tried finding more design transfer sheets both from trusted retails and from Ebay - a usally suitable source. It seemed odd that there were just NONE to be found. Then after watching a YouTube Video by Jennifer McGuire Ink I learned that ThermoWeb and Gina K Designs have jointly developed a new product called Poly Glaze Sheets that you can reserve your order for them here or directly from Gina K Designs here. They are designs only and a limited selection of sentiments at this time and claim to offer a more consistent seal between the glaze and the foil sheets. I can see these in my crafting future!
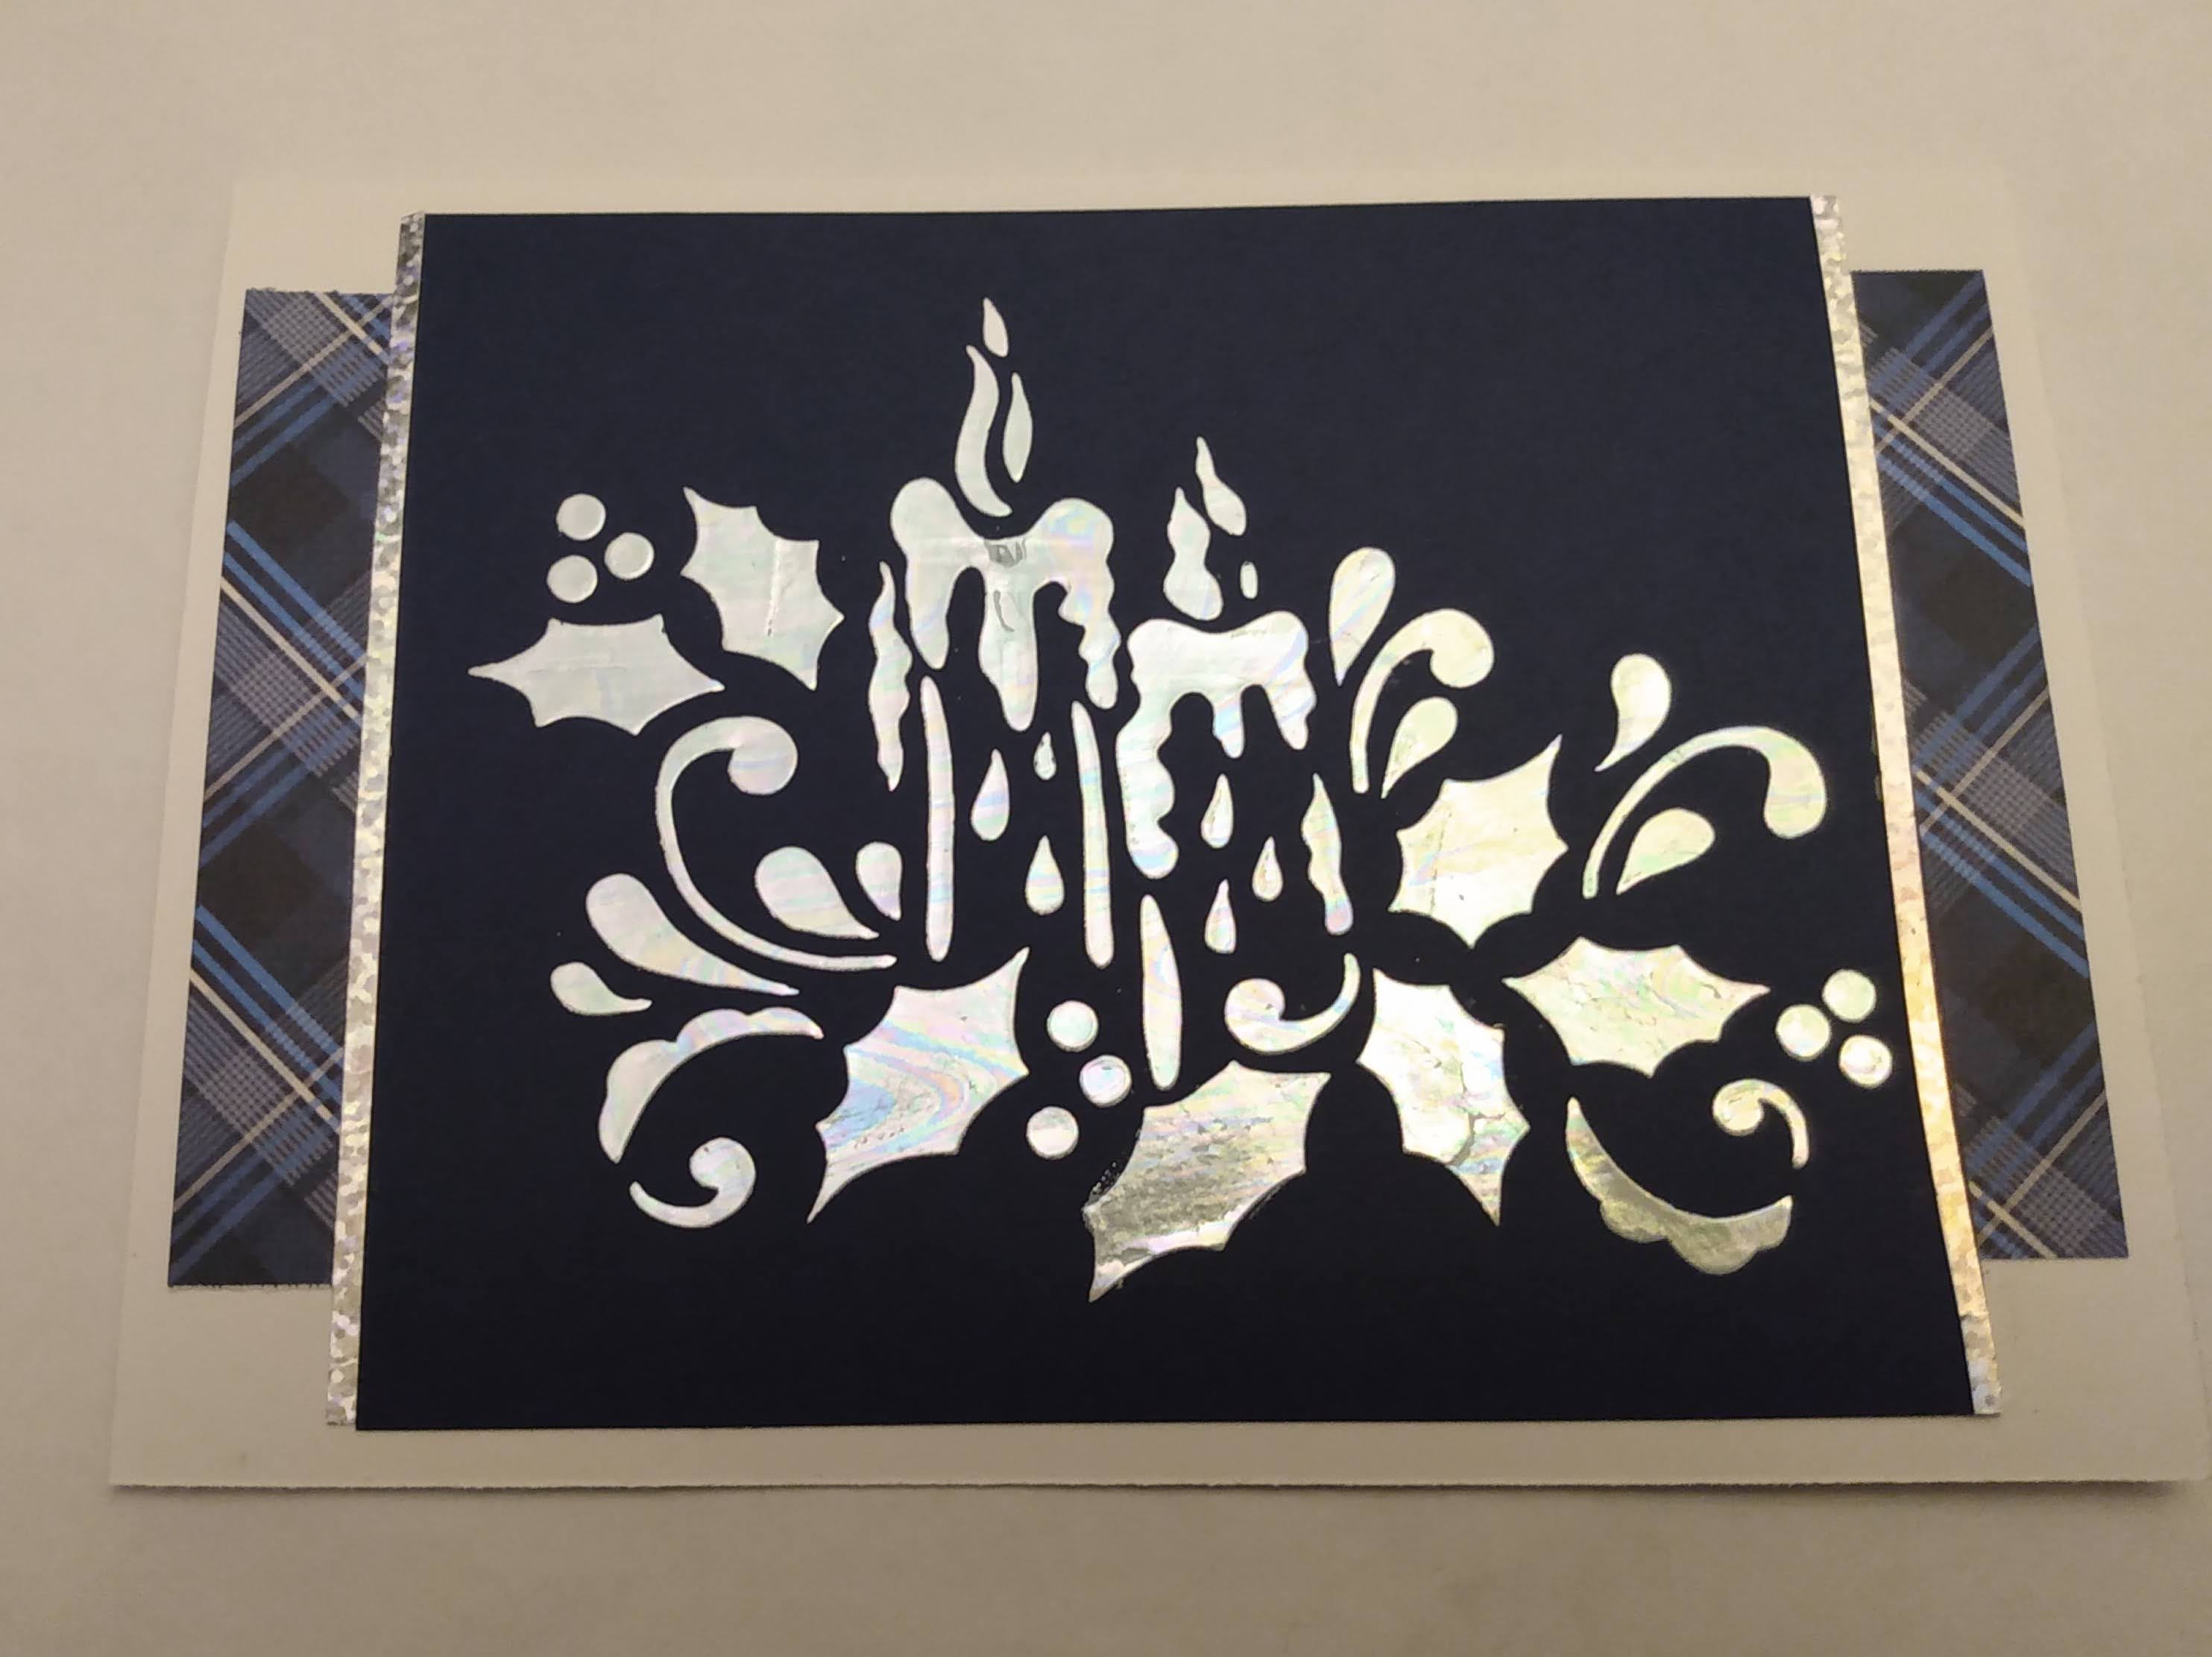
Another method for using the foil sheets was to fill in a stencil with “transfer gel” after it has been lightly adhered to cardstock using a low-tack spray created for this purpose. I had some that was intended to hold quilt batting in place while the quilted top was prepped for the actual quilting process in which the stitching would go through the quilted top, the batting and subsequently through the back. This turned out to be a bit too sticky and took more effort to remove than the product called “Pixie Spray” which was indeed created for this purpose.


According to some of my card-making mentors, a technique that involves foiling over embossed sentiments is another choice that I had considered. The first time I tried it, I was unaware that the image or sentiment actually had to have embossing powder heat set over the stamped word or shape, so this ended in failure. The next attempt went better and a third attempt followed, but still didn't give the results I was hoping for. It seems in order to carry out this effectively, the sentiment needs to have a little more distance between the letters so that the sentiment will show up well. Here's what I foiled compaired with simple embossing with metallic powder:


No comments:
Post a Comment